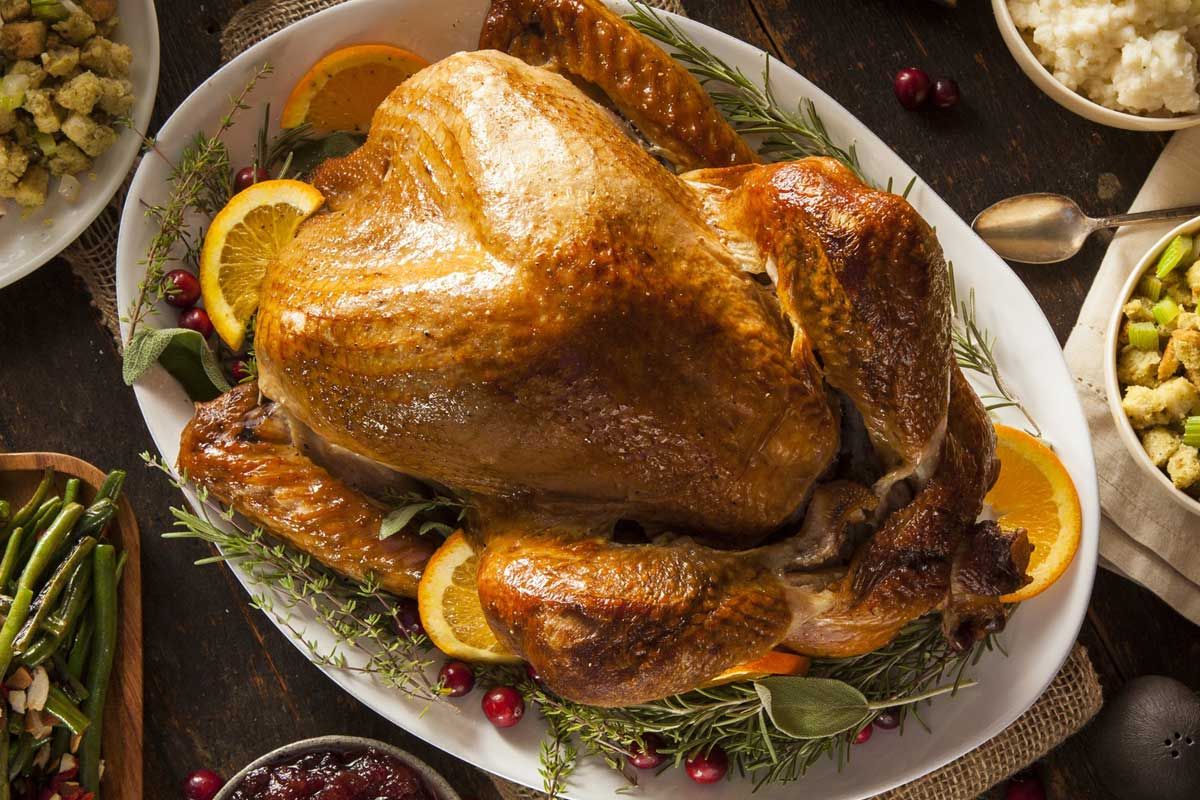
Already Thinking Of Your Thanksgiving Turkey? Read This First.

Yes, it’s time! If you have a holiday celebration in your future (and we know you do), it’s time to get your fresh turkey on our list. Stop by our meat case or call 651-777-2888 to place your holiday meat orders.

Fresh AND Local Is Better

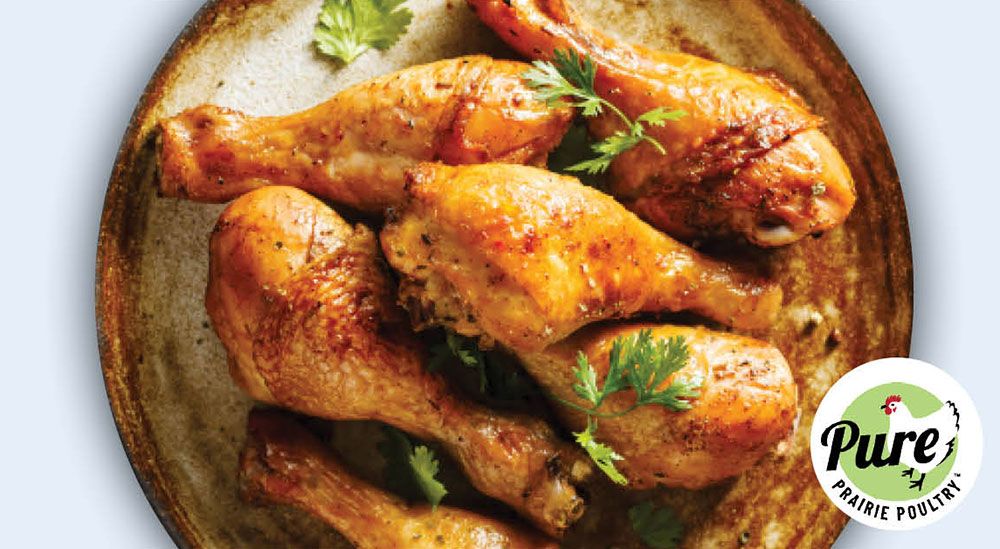
Don’t chance the biggest meal of the year on a typical frozen grocery store bird. Our turkeys are fresh and local from the family-owned and operated Ferndale Market located in Cannon Falls, Minnesota. And that really matters. Ferndale Market is a third-generation turkey farm committed to raising free-range, antibiotic-free, and naturally processed turkeys.

The turkeys grow naturally, without the use of antibiotics or artificial growth hormones. During temperate months, they’re rotated on fresh pastures with access to clean air and fresh grass. There is no substitute for the excellent care Ferndale Market takes in creating an environment that maximizes turkey health without medications.

Plus, fresh turkeys taste better! They tend to hold their moisture much better than frozen turkeys, bringing out a meaty texture and resulting in a juicier, more flavorful flavor.

How Much Bird Do You Need?

This is a tough one because we know there are turkey lovers out there who can tip the scale. However, a general rule of thumb is to plan on about one to one-and-a-half pounds per person. You may even want to go up to two pounds per person for smaller gatherings. If that seems like a lot, remember that while there’s a lot of meat on dem bones, there are still bones and other parts that don’t get eaten. More importantly, you don’t want to skimp on leftovers! In short, for four to six people, a 12–14-pound turkey is a good range.

Our fresh turkeys are available in two-pound increments from 10 to 24 pounds. Let us know the range and, more specifically, which end of the range you prefer, and we’ll do our best to get as close as possible.

How Long Do You Cook A Fresh Turkey?

Fresh turkeys tend to cook a bit faster than their previously frozen and thawed counterparts. A rule of thumb is about 15-20 minutes per pound at 325°F. HOWEVER, oven temps and times will vary. Plus, you’ll likely share that oven heat with other holiday eats. Use a meat thermometer before the estimated cooking time ends to avoid overcooking. Place the thermometer in the breast. The turkey is done at an internal temperature of 165°F

Then, rest the turkey under a tin foil blanket for about a half hour. Resting after removing from the heat allows the natural juices released during cooking to be reabsorbed into the meat.

We Can Customize Your Cut.

At Hagberg’s, you get more than a great Minnesota bird. For a nominal custom-cut fee, we can prep your turkey to your tastes, including deboning, parting out, and spatchcock. By the way, Spatchcock is what us meat cutters call “butterflying.” This increases the surface area of the bird, allowing it to cook more evenly and in less time. This helps the dark meat cook as quickly as the white, resulting in juicy turkey in about half the time

Inquire at the meat counter for custom prep charges. Please note that we don’t offer a pre-stuffing option, as this should only be done immediately before cooking.

Porketta Sandwich At Hagberg’s Country Market

See the article in the StarTribune “Dining Diaries.”

“I feel like we’re in Eveleth,” my mom giddily exclaimed.

We were actually at Hagberg’s Country Market in Lake Elmo. A grocery store with an expansive meat market and lunch counter, it reminded her of our favorite Iron Range IGA (a local, familyowned grocery chain). Cases are filled with premium cuts of meat, slabs of bacon sliced to order and a global array of sausage styles.

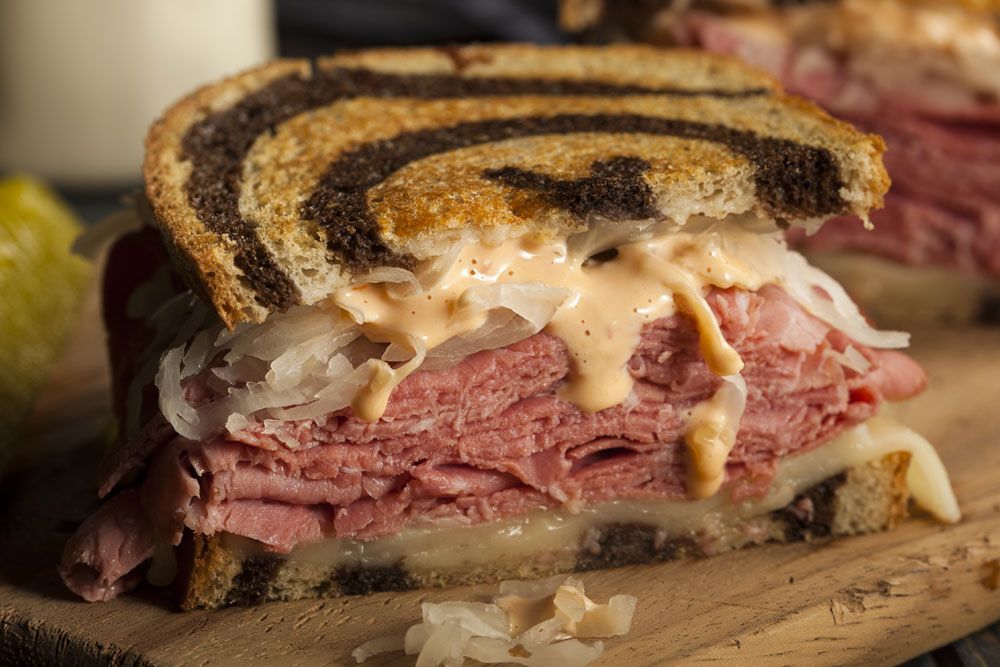
Off to the side is a sandwich counter where we found another taste of home in the porketta sandwich ($7.99). Up north, we’re accustomed to every well-appointed local grocer stocking different kinds of porketta. The kind of pork can vary: shoulder, loin, Boston butt, but it’s always boneless, usually held together by netting and slathered with dried Italian seasonings. At Hagberg’s, they go with a low and slow braised meat that falls into submission: a juicy, highly flavorful mix that’s redolent of fennel seed, oregano, basil and black pepper. It’s piled onto a fresh bun sturdy enough to hold up to all those luscious juices, but soft enough to melt into the meat with each bite. Balancing this beauty of a sandwich is the horeseradish-spiked cream sauce that bites just enough to keep things interesting.

If heaven were a small town with copper-colored mud caked on truck wheels and hockey as a way of life, this is what it would taste like.

Joy Summers

 See the whole article.

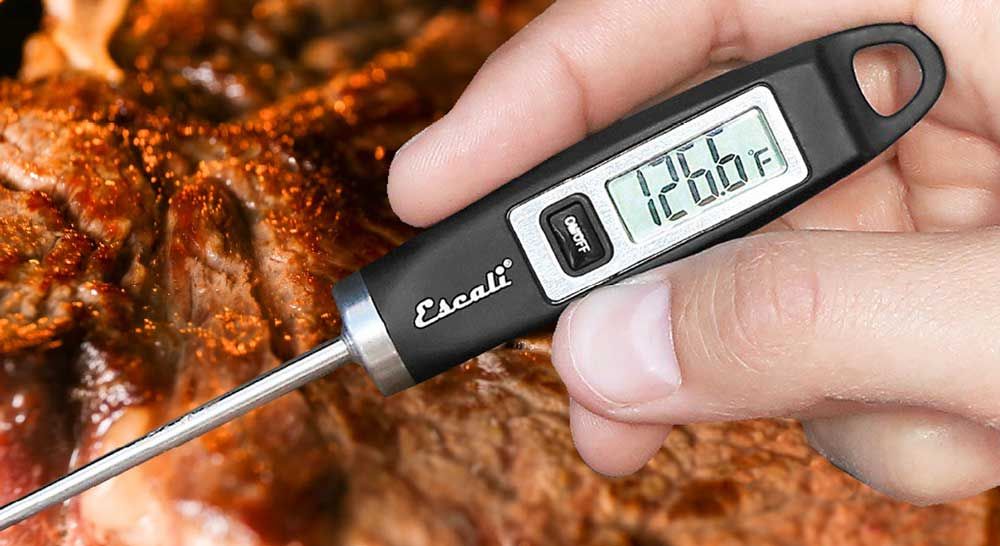
The Most Essential Tool In Your Kitchen Is A Meat Thermometer.

Take the guesswork out of cooking. You just spent a few (or several) dollars on a nice cut of meat from Hagberg’s amazing meat case. You really want to impress your guests or, at the very least, prepare it to its most succulent best. Why risk a less-than-ideal outcome by guessing how long to cook it? Knowing the exact internal temperature of the meat not only helps you avoid an over-rare steak or dried-out chicken breast, but it also lets you know whether or not it’s safe to eat, which is sort of important.

Along with some good pans and sharp knives, a meat thermometer is the most important tool in your kitchen arsenal. A meat thermometer measures cooked meat’s internal temperature to ensure it’s safe to eat and matches your personal preference and tastes.

Safe temperatures vary by cut of meat or food item. Generally, for roasts and chops, the minimal internal cooking temperature should be 145°F. You should also add a resting period of a few minutes before serving. During this brief resting period, the temperature continues to increase slightly, and the juices get absorbed back into the cut resulting in a juicier outcome. Cook poultry until the internal temperature reaches 165°F. 

See the chart below for more detail.

Product Minimum Internal Temperature & Rest Time
Beef, Pork, Veal & Lamb Steaks, chops, roasts 145 °F and allow to rest for at least 3 minutes
Ground Meats 160 °F
Ground Poultry 165 °F
Ham, fresh or smoked (uncooked) 145 °F and allow to rest for at least 3 minutes
Fully Cooked Ham (to reheat) Reheat cooked hams packaged in USDA-inspected plants to 140 °F and all others to 165 °F.
All Poultry (breasts, whole bird, legs, thighs, wings, ground poultry, giblets, and stuffing) 165 °F
Eggs 160 °F
Fish & Shellfish 145 °F
Leftovers 165 °F
Casseroles 165 °F

There are several types of meat thermometers. One that we like to use is the digital “instant-read” style. These aren’t meant to be left in the food while it cooks. Simply use these to check your meat when you think it’s done by placing the probe in the deepest part of the food and getting a reading in a few seconds. These thermometers are easy to use, easy to store, and easy to clean. And you’ll find some of our favorites at the end of the meat counter.

Five Quick Basic Steps for No-Hassle Grilling.

If our meat case is your version of meat nirvana (and if you’re reading this, it probably is), you likely love to grill. What meat lover doesn’t? It’s one of the easiest ways to prepare a good cut of beef or a freshly ground burger. It makes clean-up easy and adds an authentic smokey flavor to your preferred protein – beef, chicken, or pork. Here are five basic tips to get you grilling in the right direction.

Step 1: Rest and prep.
Don’t get too fired up to toss your meat on the grill. The best result starts and ends with a bit of rest. Remove your meat from the refrigerator and let it rest under a loose foil blanket for half an hour to bring it to room temperature, which helps it cook more evenly. Season to taste. A good sprinkle of kosher salt and a dash of pepper is usually all you need.

Step 2: Fire up the grill.
Start with a clean grill grate. Don’t let residue from previous grilling sessions influence the flavor of your meat. Going old-school with charcoal? Use the right amount of charcoal to achieve the right level of heat. For gas grills, start with medium heat. Let the grill get to temperature before adding the meat. No cut of meat likes a cold grate.

Step 3: Get grilling.
Don’t set it and forget it! Grill temps can vary. It’s essential to keep a close eye on your meat to ensure it cooks evenly and doesn’t burn. But don’t flip your meat too often. Let it cook undisturbed for a few minutes to develop a nice sear and grill marks. Flipping too often can prevent proper caramelization and result in less flavorful meat. However, if your grill has hot spots, move your food around to ensure even cooking.

Keep the lid closed as much as possible to contain the heat and smoke, which adds flavor and helps it cook more evenly.

If you plan on basting or brushing with sauce, go for it, but don’t do it too early. The sugars in the sauces and marinades can burn. Wait until closer to the end of cooking to let the meat flavors come through.

Step 4: Meet your meat’s best temperature.
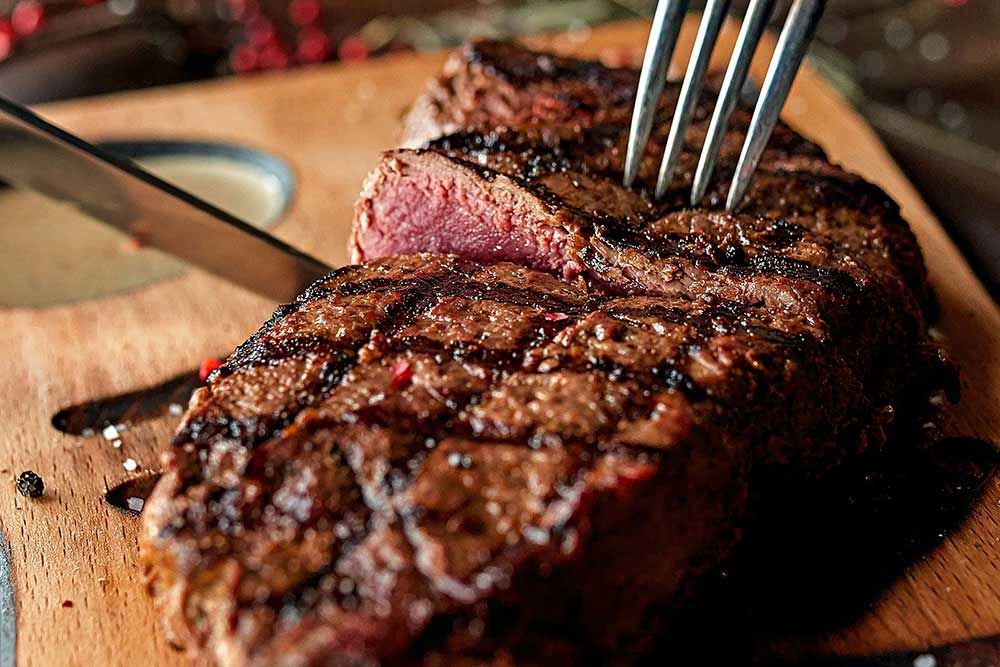
Stabbing your dinner with a fork or slicing it in half to check doneness is an amateur move. It releases those delectable juices and leaves you with a less flavorful result. Use a meat thermometer. Monitor the temperature to achieve the proper and safe level of cooking for your particular protein. If you don’t know the correct temperatures, we can help. Go here to learn more.

Step 5: Remove and rest.
Rest the meat under a foil tent for about five minutes before cutting and serving. Allowing the meat to rest gives the juices a chance to re-absorb. Get too quick to cut, and those delicious juices will flow right out of the meat onto the cutting surface. Save the flavor for your tastebuds, not a cutting board.

Know when done is done. Find a chart for USDA-recommended internal meat temps here.

Tips For Grilling Perfect Fresh Hagberg’s Brats.

Summer grilling season is in full swing! With so many incredible brats heading out the door, we figured it was the perfect time for a little brat cooking refresher.

It’s been a somewhat rainy summer, so rain puts a damper on your grilling or if “someone” forgot to get charcoal or fill the propane tank, here are tips for grilling outside or cooking in the great indoors! Tips For Grilling Perfect Fresh Hagberg’s Brats.

No-boil method: Remove from wrap (thaw if frozen) and place it on a hot grill. The key to the no-boil process is to go low and slow. Keep the heat controlled and turn often so you don’t break the skin while the brat cooks. This keeps the juices in the brat and allows the char from the grill to flavor the skin. The brats are done when the inside temp reaches 150°-155° F.

Boil method: Yes. It’s okay to boil your brats first. Essentially, you’re cooking your brat before you grill it to minimize the time over the coals. Plus, using a water/beer bath mixture with some onions adds flavor. Again, you’ll want to minimize the skin splitting for juicier brats. Sometimes, I’ll keep my brats in the water/beer bath warm on the grill, so if folks want seconds (or thirds), it just takes a couple of minutes to char on the grill. This definitely beats letting them sit on a plate or the grill to dry out.

Oven method: If you’re craving a Hagberg’s brat, but a summer storm has put a damper on your grilling, turn on the oven. We prefer this method to stovetop grilling or pan-frying because slow and steady cooking makes for a juicier and more flavorful brat. Preheat to about 350° F and cook for 30-40 minutes until the inside temp reaches 150°-155° F.

Know when done is done. Find a chart for USDA-recommended internal meat temps here.

Our Jerry’s Fingers Rock!

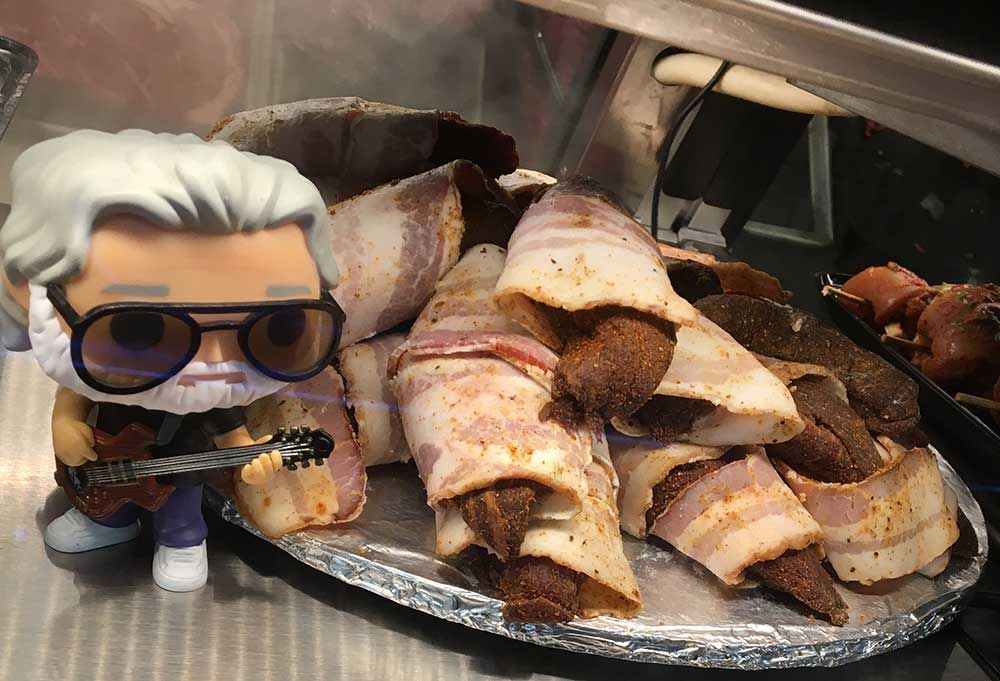
Once in a while, you get shown the light, in the strangest of places if you look at it right. And you can always find a little delicious inspiration in the Hagberg’s meat case – right next to Jerry. Grab your favorite bootleg and enjoy a “Jerry’s Finger” in honor of legendary guitarist and cultural icon, Jerry Garcia. What’s a Jerry’s Finger? It’s a strip of beef tenderloin wrapped with Hagberg’s own double-smoked bacon and coated with an earthy, yet mild cayenne seasoning. It’ll ROCK your world! And they’re really easy to cook! Place your Jerry’s Fingers on a lightly oiled baking sheet and cook in an oven preheated to 375°F for 15 minutes or until reaching an internal temperature of 140°F. Rest for 4 or so minutes before serving.

Hagberg’s Phil’s Bombs

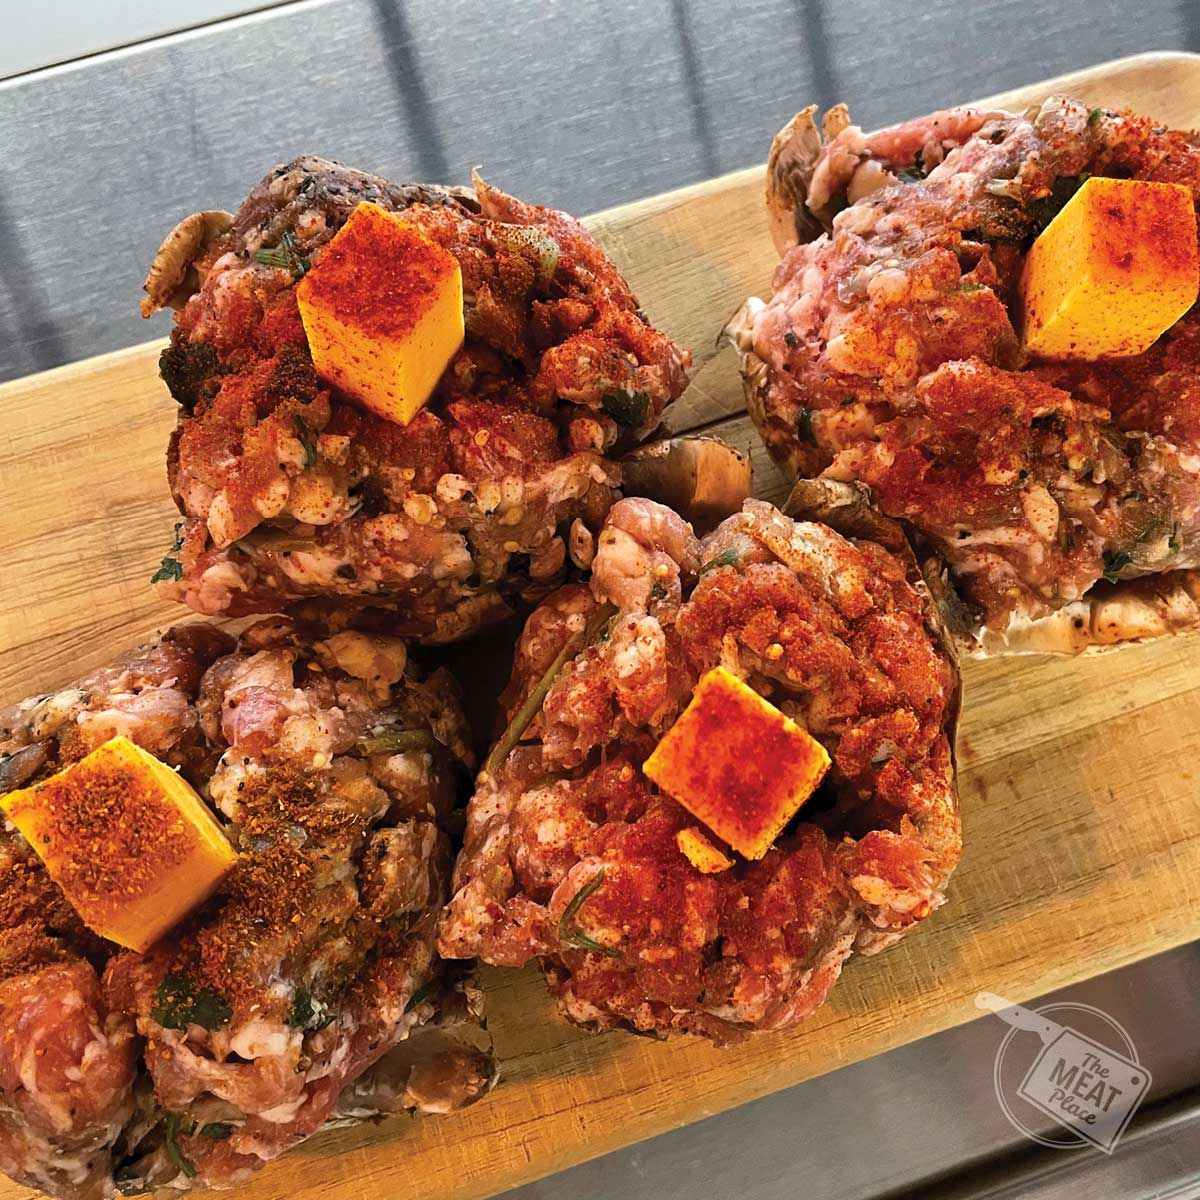
Inspired by the legendary bass player, Phil Lesh, these bombs will strike a massive chord and get your taste buds thumping. Phil’s Bombs are jumbo mushrooms stuffed with Hagberg’s own Chorizo Verde blend, smoked cheddar, and finished with a dusting of paprika.

How to cook a Hagberg’s Phil’s Bombs.

Just grease up a baking sheet to keep ‘em from sticking and pop them into your preheated oven at 375° F. After 18 minutes, they’re ready for serving.

Continue reading

Thanks To Kelli & Twin Cities Live For Stopping By!

Melissa and Billy talk a little about what they sell, why they sell it and, of course, a little Hagberg’s history. Take a few minutes and catch up on some delicious local history.

“I really respected what my Grandpa did, and what my Mom and Dad did. He took a small town grocery store, the way they always were, and developed a reputation for a style of cutting and service. And I really respected that.” – Billy.

“I like to bring in and have the everyday items. You know, some people still just love just those things that they grew up on… but also I like to bring in some higher-end sauces… we have a really good Italian sausage. If you want to have a nice meal, you can pair it with a nice high-end sauce.” – Mellisa

Attention Bacon Connoisseurs And Those Who Wish To Be.

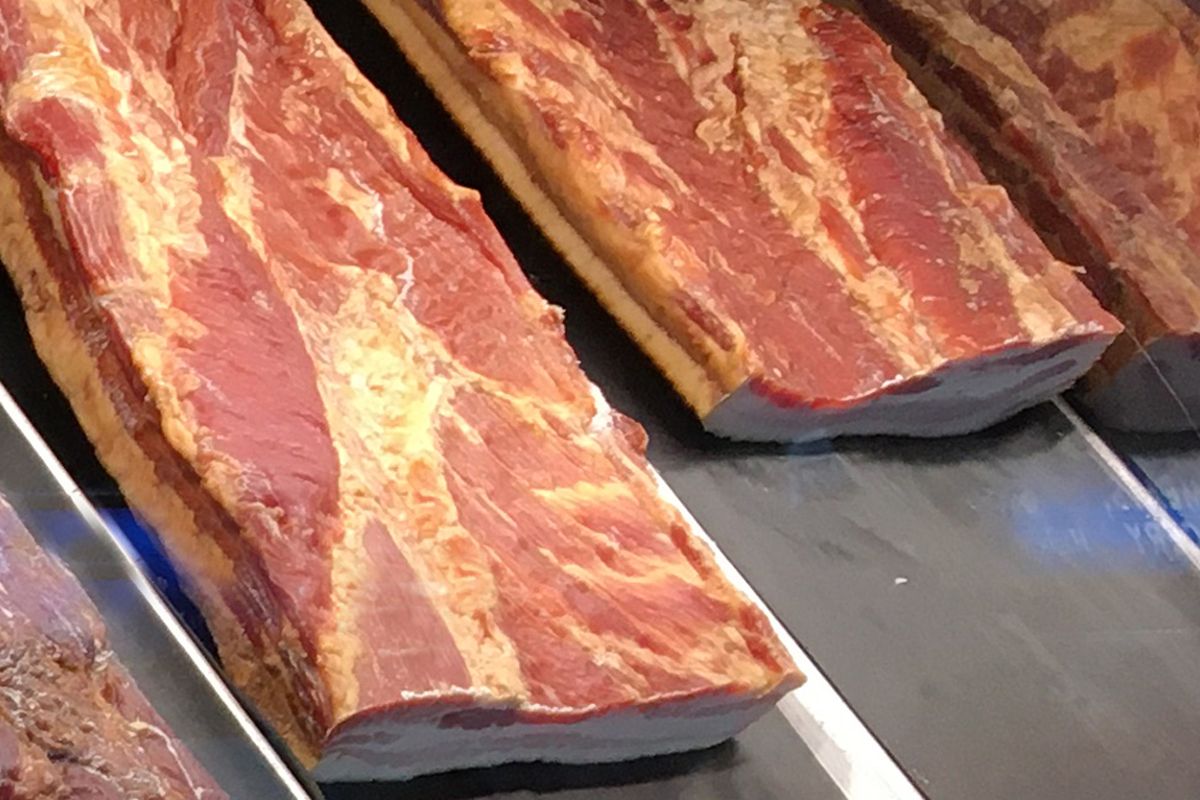
Our bacon always has the featured spot in the meat case – and for good reason – it’s one of the most popular items we sell! From the traditional smoky flavors to more exotic combos, we’re always smokin’ up fresh ideas. If you’re a Hagberg’s bacon connoisseur, you probably have your favorite flavors and your favorite way of cooking it, too. But we get a lot of early adopters who need a little instruction on how to get the flavorful best from Hagberg’s bacon.

Here are a few tips on how to get the most from these strips.

First, pick the thick.

Are you a thin and crispy type of person, or do you like your bacon with a bit of heft? You can’t go wrong either way, it’s really a matter of personal taste. Not sure? Ask us to give you a range of thicknesses and test ‘em out at home. Do you have a variety of bacon preferences in your home? No problem, we can trim your order in various thicknesses.

Okay, now it’s fry time.

Our bacon needs no special prep. With a controlled heat source and the proper pan, you’re ready to go. Old-school stove-top pan frying in a good cast iron skillet is one way to go, but it can be a very messy procedure. Plus, you can only fit so much bacon in a frying pan, and we all know there is never enough bacon.

We strongly recommend this method for consistency, safety, and much easier clean-up. It’s simple and fast, and once you have your appropriate cooking times down for the bacon thickness, it’ll always be prepared the way you like it best.

It’s important to note that your cooking times will vary depending on the thickness of the bacon and your preference for crispiness. Use this as a starting point and adjust the time as needed.

Start with a raised-edge cookie sheet/pan. The size isn’t important but the larger the pan, the more bacon you can fit! The raised edge is important, though. It’ll hold in the grease and keep the clean-up to a minimum. It’s not necessary, but you may even want to line the pan with parchment paper to make cleanup even easier. 

Cook in your oven preheated to 325° F for 20-25 minutes. Again, the time may vary depending on your preferences. Remove and set on paper towels or on a cookie rack with paper towels underneath to absorb/drain any excess grease.

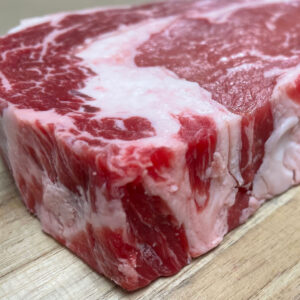
Billy’s Tips For Preparing A Delicious Chuck Roast.

A beef chuck roast is a cut from the exercised shoulder area of the cow. A beef chuck roast is a beautiful cut of meat with superb marbling but take care when cooking because it can be tough if not done correctly. Low and slow is the way to go. Slow cooking in relatively low heat nicely breaks down the inherent connective tissues, resulting in a tender, juicy, and delicious experience.

At Hagberg’s we cut our beef chuck roasts to about 3-4 pounds. Naturally, you can request a different size cut, but we think this is an ideal size for easy, consistent preparation.

The ideal vessel for preparing your roast is a roaster with a good-fitting lid. We like enameled cast iron, but any good roaster should do the trick. The beef chuck roast should fit nicely inside the roaster, a couple of inches from the sides. The roast should not touch the sides.

Preheat your oven to 325° F.

While your oven is warming up, rub a little Lawry’s Seasoning Salt on all sides of the roast. Add a little oil to the bottom of the roaster and heat it on your stovetop. Then, gently set your roast on the heated oil and flip it until all of the outside gets a nice brown color. This step can get a little smoky but also starts the delicious aromas permeating the house.

Smear a very thin coating of tomato paste on the roast and set it in the middle of the bottom of the roaster. Then, add equal amounts of beef stock. The total amount of liquid will vary depending on the size of the roaster and roast. Fill so that the entire bottom of the roast rests in about a half-inch of the beefy bath.

Place the covered roaster into your preheated oven and cook for about one hour per pound. If you’re adding veggies, drop them on and around the roast for the last hour of cooking.

At the end of the cooking time, the roast should set covered for about 10 minutes before serving.

Now, if this is your first roast rodeo or you’re not confident about your oven temps, you have to check to ensure your roast is thoroughly cooked. But don’t wait too long. While an underdone roast can be tough, an overdone roast can be dry. You can always cook an underdone roast a little longer to finish it off, but there’s no going back from overdone. Use a meat thermometer to ensure the meat is up to temp and do the fork test. A perfectly done roast will pull apart easily with a fork.


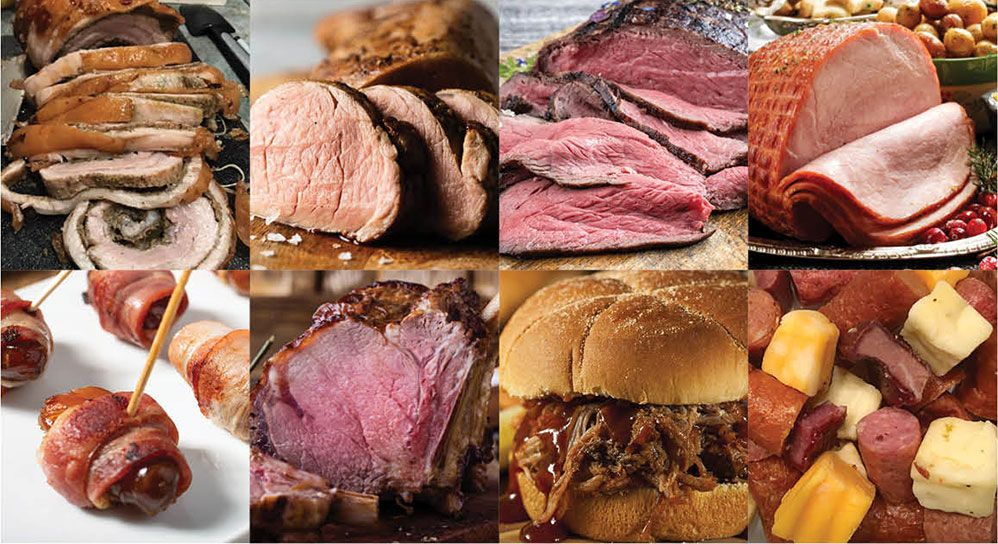
Our 12 Meats Of The Holidays.

Have you placed your holiday season meat orders? From formal dinners to casual parties, it’s the season for getting together with friends and families, and the centerpiece of any holiday celebration is meat, of course. We have a meat case full of delicious options, but we encourage you to call and order your meats in advance! Choosing the right meat can be a little overwhelming, so we thought we’d put together a few traditional and not-so-traditional items you’ll find at Hagberg’s. So, in no particular order, here are our 12 meats of the Holidays.

1. Beef Tenderloin
Tender and juicy, roasted beef tenderloin is a popular cut of beef for holiday dinner tables. It’s a more expensive cut often reserved for special occasions. But don’t skimp. Plan on at least 8 ounces per person. A 3-pound beef tenderloin should be about the right size for six people.

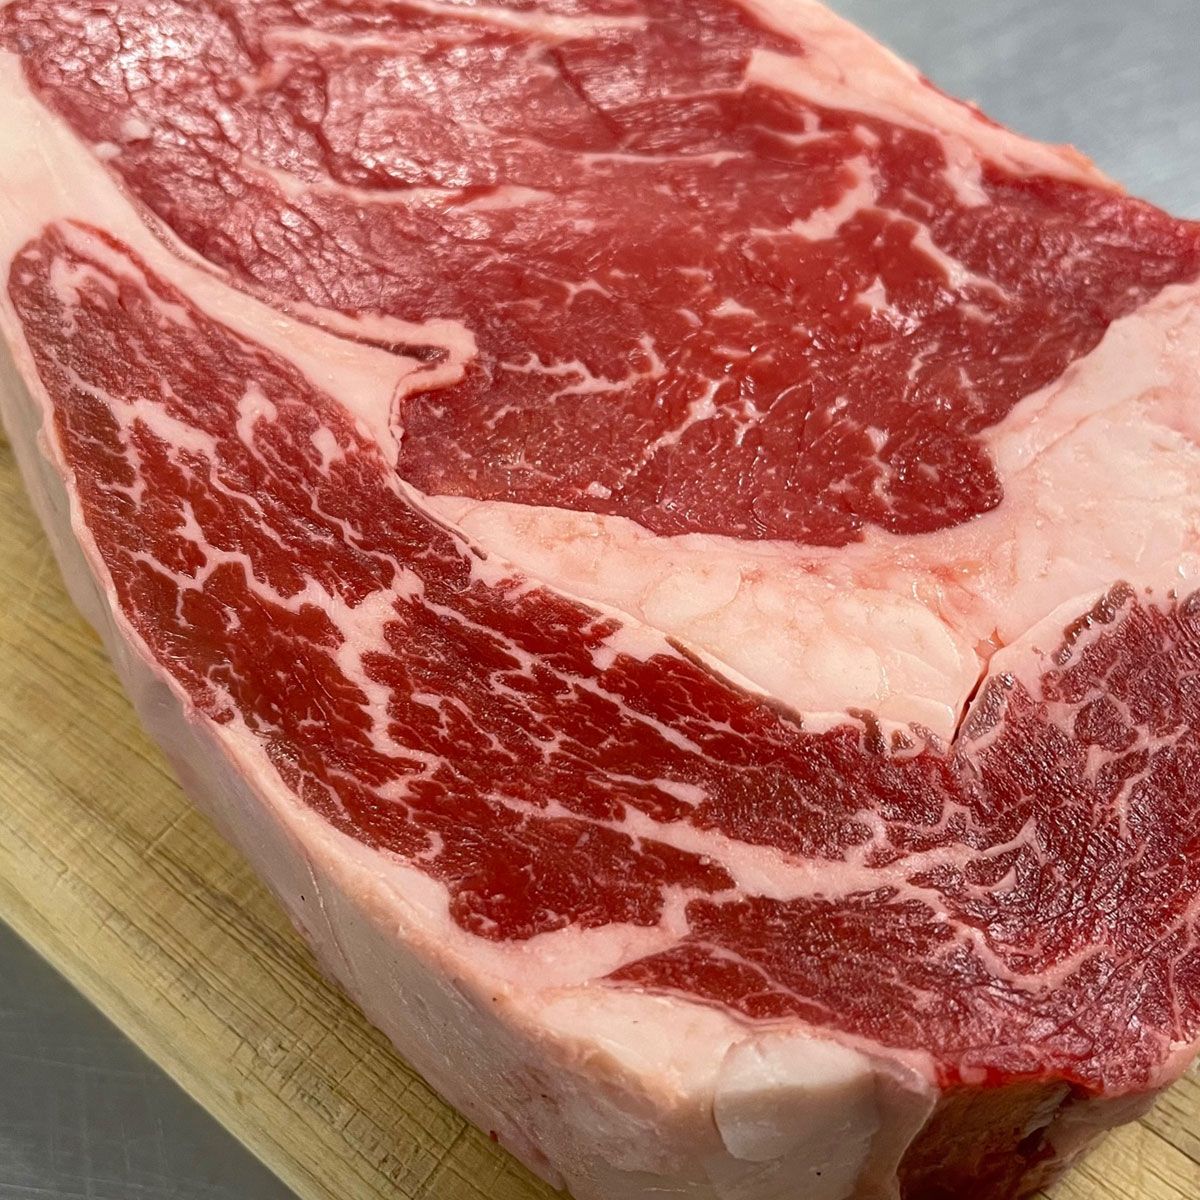
2. Prime Rib
Right up there with turkey and ham, prime rib is a favorite cut for adorning holiday dinner tables. It has a large “eye” of meat in the center, which is juicy, tender, and marbled with delicious fat.

3. Ham
The Christmas ham is a quintessential centerpiece of many holiday feasts. It’s a breeze to prepare and it’s always sure to please for any size gathering.

4. Porketta Roast
Fill your kitchen with the warm aromas of this Iron Range tradition. Hagberg’s Porketta Boneless Pork Loin Roast is expertly flavored with fennel, paprika, and garlic.

5. Rump Roast
Sometimes called a “Holiday” roast, this beef is packed with flavor.
Go traditional, or try it with a little dry rub. A 3-pounder only takes about an hour at 300°F to cook for medium or medium-rare.

6. Pork Tenderloin
Our Boneless Pork Tenderloin naturally contains more flavor without added water or ingredients. Easy to prepare, sear the sides in a skillet, then bake at 400°F for 20-25 minutes. Cooking time may vary, so use a meat thermometer. Remove it from the oven when it reaches 145°F.

7. Pork Loin Roast
A pork loin roast is wide and thick, with a sizable (yet very tender) fat cap running along the top, unlike a narrower pork tenderloin with much less fat. Roast our boneless pork loin roast fat side up (to keep those savory juices flowing) at about 20-25 minutes per pound at 350 °F. Remember, this isn’t chicken, so a little pink is okay.

8. Shredded Beef and Pork
A fast and easy party favorite, our shredded beef and pork are ideal for simple, festive sandwiches at casual holiday get-togethers. Plan on about one pound per 3-4 people. And be sure to check out our sauce selection.

9. Polish Sausage
“Polish” for sausage, our traditional version of this world-famous Kielbasa, is secretly spiced and expertly smoked just as it has been for generations.

10. Meat ‘n’ Cheese Chunks
We like to call it “meat candy.” No holiday party is complete without a bowl of smokey meat sticks, jerky bits, and chunks of cheese in various flavors. Ask for Hagberg’s meat and cheese chunks at our deli.

11. Pie
Yeah, we know; why is pie on a holiday meat list? No holiday feast is complete without a sweet treat, regardless of the meat you decide to serve. We always have a nice selection of pies in the cooler next to the deli.

12. Bacon
We know, we know. Bacon isn’t “traditional” holiday meat. But face it, bacon makes every day more festive. At Hagberg’s, we have a large section of the meat case dedicated to a variety of smoky bacon flavors. Whether using it as a wrap to create delectable hors d’oeuvres, adding bits to your green beans and salads, or just serving it up as a savory side, Hagberg’s freshly sliced-to-order bacon will become your new holiday tradition!

Want more ideas? We have a meat case full of tasty options!

Not All Turkeys Are Of The Same Feather.

Don’t chance the biggest meals of the year on a typical frozen grocery store bird. Our turkeys are fresh and local from Ferndale Market, located in Cannon Falls, Minnesota. And fresh really matters. Here are a few points about going with a fresh, never-frozen Ferndale Market bird from Hagberg’s for your holiday dinner centerpiece.

For starters, and most important of all, they taste better! Fresh turkeys tend to hold their moisture much better than frozen turkeys, bringing out a meaty texture and resulting in a juicier, more flavorful flavor.

Of course, the most crucial factor of a delicious bird happens before it hits our meat case. At Hagberg’s, we source from Ferndale Market, a third-generation range-free turkey farm committed to raising free-range, antibiotic-free, and naturally processed turkeys.

And fresh turkeys tend to cook a bit faster than their previously frozen and thawed counterparts. A rule of thumb is about 15-20 minutes per pound at 325°F. HOWEVER, oven temps and times will vary. Plus, you’ll likely be sharing that oven heat with other holiday delectibles. Use a meat thermometer BEFORE the end of the estimated cooking time to avoid overcooking. Place the thermometer in the breast. The turkey is done at an internal temperature of 165°F.

Then, give the turkey a little rest under a tin foil blanket for about a half hour. Resting after removing from the heat allows the natural juices released during cooking to be reabsorbed back into the meat.

Consider A Custom Cut

At Hagberg’s, you get more than a great Minnesota bird. For a nominal custom-cut fee (most custom cuts are $8.00 per bird), we can prep your turkey to your tastes, including deboning, parting out, and spatchcock. Inquire at the meat counter for custom prep charges. Please note that we don’t offer a pre-stuffing option, as this should only be done immediately before cooking.

What The Heck Is Spatchcock?

Spatchcock is what we meat cutters call “butterflying.” This increases the surface area of the bird, allowing it to cook more evenly and in less time. This helps the dark meat cook as quickly as the white, resulting in juicy turkey in about half the time.

Our Take On Reverse Searing.

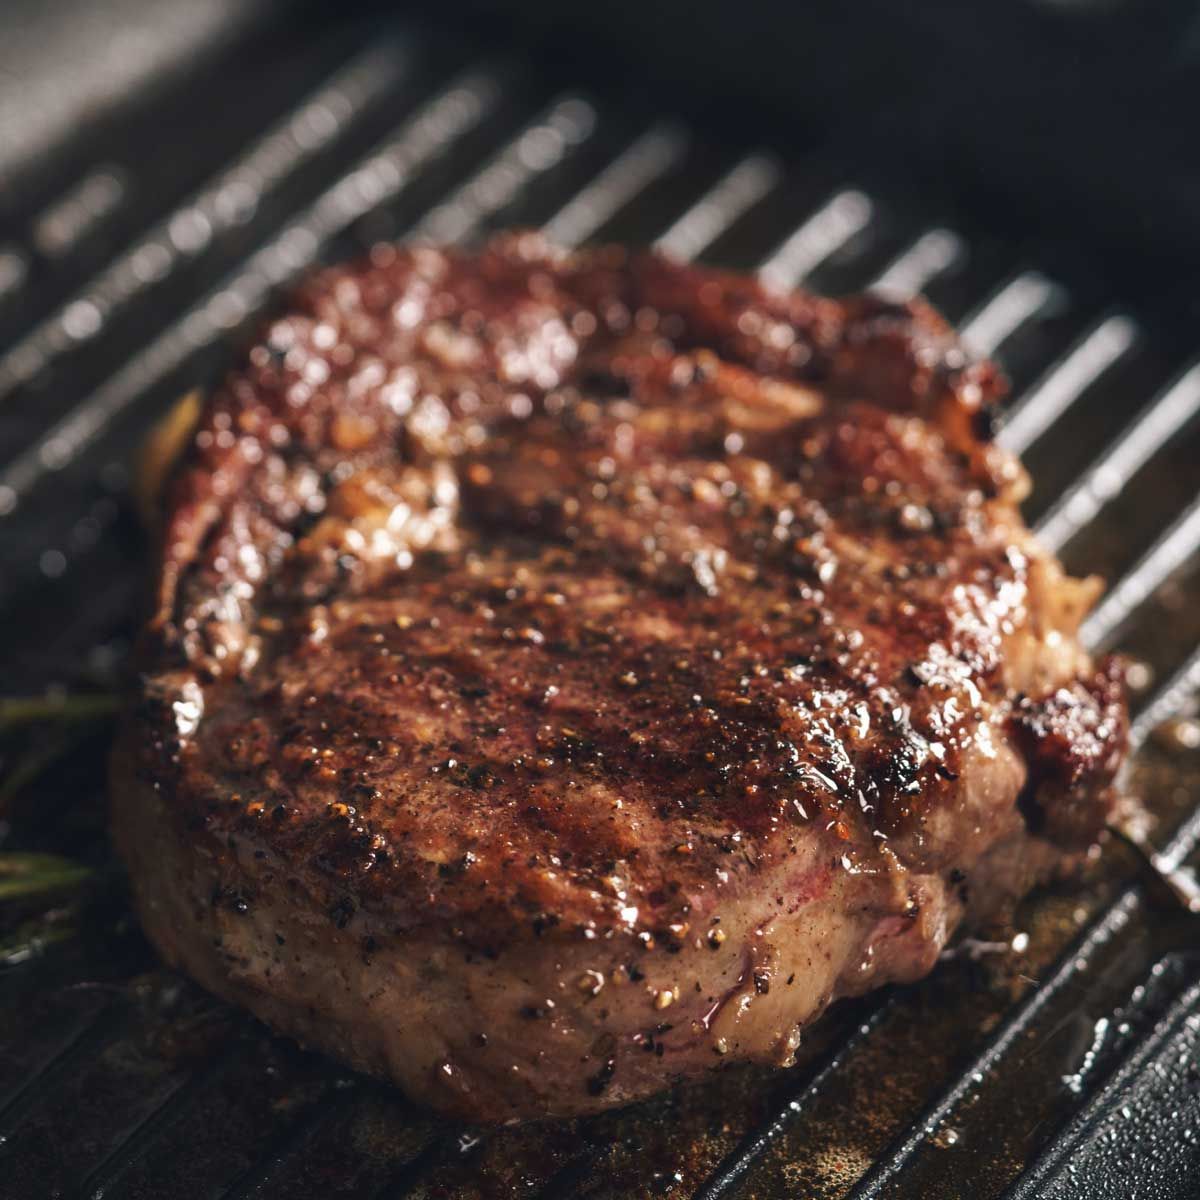
Have you ever tried to count all the different cuts of beef in Hagberg’s meat case? Neither have we. There are a lot of them. And, like our cuts, there are almost as many methods to prepare them – from grilling to roasting to sous vide. So, is there one best way to prepare a Hagberg’s steak? Well, no. That’s up to personal preference, but here is a method that we often use at home. It results in what so many of us love in a steak – a deliciously charred crust with a juicy and tender inside. If you’re a seasoned meatatarian, you probably already know all about reverse searing. If not, here’s an easy-to-follow primer to get you deliciously down the path – in reverse.

So, what is the reverse searing method for cooking steaks? As the name suggests, reverse searing takes what many of us learned about cooking steaks and turns it upside down.

Traditionally, steaks have been cooked on one appliance – think grill, stovetop in a skillet, or oven. Rather than dropping the raw steak on a grill or skillet and cooking the steak from outside, the reverse sear does the opposite. This method involves cooking the meat to the desired doneness low and slow in the oven or on a grill first. Then, the steak is seared in a cast-iron skillet or flat-top grill to create the beautifully rich and crispy crust that we all associate with a perfectly cooked steak.

Preheat your oven to 275° F – 300° F. Rub your steak with a bit of salt and pepper to taste and place it on a wire rack on a baking sheet with sides. (You don’t want those delectable juices flowing into your oven.) Put the sheet uncovered in the center of the oven and cook for 20-30 minutes until the required doneness is achieved. Remove and tent with tin foil and rest for 5 minutes before searing and serving.

While this might seem like a lot of work to go through for a perfect steak, consider the alternative–a less-than-perfect steak, and believe us, this is worth the minimal effort.

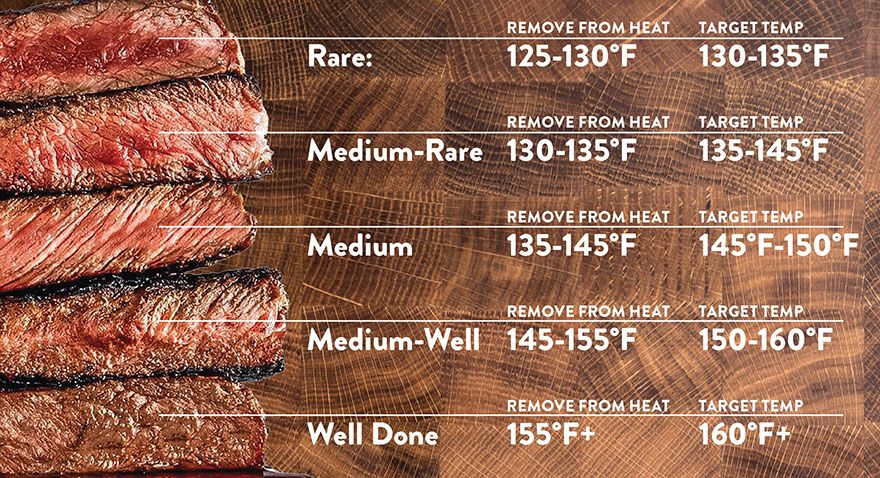
So, why is the reverse sear so awesome? Cooking the steak slowly with a controlled oven temperature makes preparing it to your exact preferences easier. See our detailed steak doneness chart for the varying degrees of doneness. Note that you can’t rely on the inside color of the meat to determine doneness. It is best to use a meat thermometer. For reference, we suggest cooking the steak in the oven to an internal temp of 115° F and then searing it in a cask iron skillet until it reaches the final temp of 130° F to 145° F.

Plus, when the steak starts in the oven, the heat dehydrates its surface, priming it for the searing. With less juice on the surface area of the steak, the sear is more effective, resulting in that perfect steak crust.

And you get the extra benefit of the coveted steak drippings and juices from the oven pan to drizzle over the steak after searing.

When Is Done Done?

The “doneness” of beef truly comes down to personal preference, but it’s essential to know when done is done before you fire up the grill. Remember to use a meat thermometer because you can’t rely on finger temp and color to indicate doneness. Insert the meat thermometer through the side of the cut to the center of the meat abiding touching fat or bone. And remove them from the heat when the thermometer is 5°F lower than your desired doneness. They’ll continue to cook, and the temp will continue to rise for a few minutes while they sit. Sitting also allows the juices to be reabsorbed into the meat, resulting in a juicer experience. The USDA recommends steak be cooked to at least 145°F and sit for at least 3 minutes. Ground beef should be cooked to at least 160°F. 

Here’s a quick overview of steak doneness.

Rare

Cooked quickly, leaving the center cool and red. If you are wondering, steak doesn’t contain the contaminants that chicken and pork do, so eating it rare doesn’t pose any health risks.

Medium Rare

Warm with a firm sear on the outside and a juicy and soft pink to red in the center. 

Medium

A firm outside char but a lot less pink on the inside and a slightly more pronounced pink center.

Medium Well

Cooked pretty thoroughly with just a bit of pale pink for those who want a slightly juicy steak without any blood.

Well-Done

Look, Mom, no pink! Charred on the outside, a greyish-brown all through with no sign of pink. If you like your steak well done, we suggest cooking low and slow to avoid toughening.

Internal Meat Temperature Chart

Avoid overcooking and undercooking disasters! Admit it. You’ve been there. Overcook it, and it’s dry. Undercook it, and it’s potentially not safe to eat. And simply hacking into a good piece of meat to see if you think it’s done doesn’t cut it. Knowing the temperatures the meat should be cooked is critical to preparing a safe and delicious meal. Use the chart below and get a good meat thermometer. It’s the only way to be safe and sure.
See the chart below for more detail.

Product Minimum Internal Temperature & Rest Time
Beef, Pork, Veal & Lamb Steaks, chops, roasts 145 °F and allow to rest for at least 3 minutes
Ground Meats 160 °F
Ground Poultry 165 °F
Ham, fresh or smoked (uncooked) 145 °F and allow to rest for at least 3 minutes
Fully Cooked Ham (to reheat) Reheat cooked hams packaged in USDA-inspected plants to 140 °F (60 °C) and all others to 165 °F .
All Poultry (breasts, whole bird, legs, thighs, wings, ground poultry, giblets, and stuffing) 165 °F
Eggs 160 °F
Fish & Shellfish 145 °F
Leftovers 165 °F
Casseroles 165 °F


Marinated Boneless, Skinless Chicken Thighs

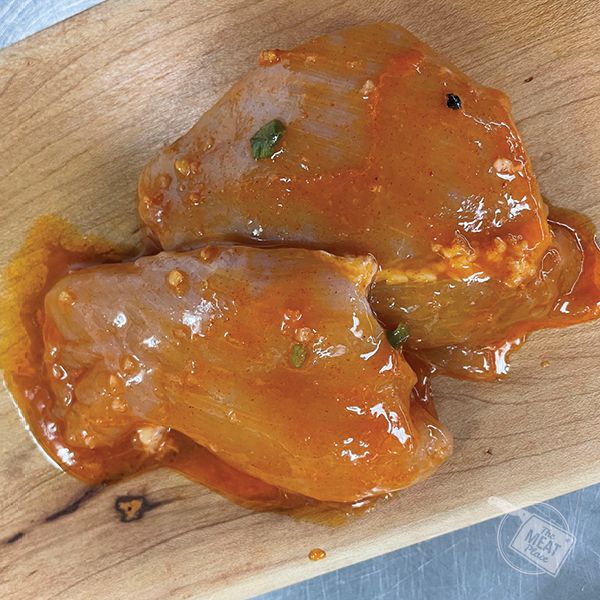
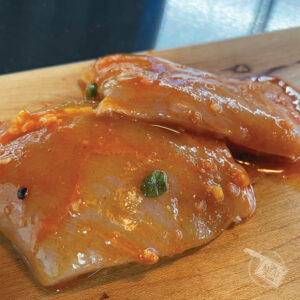
Why should the breasts have all the fun?! Sure, chicken breasts are one of the most versatile proteins out there, but folks often overlook the delicious merits of the thighs – especially when prepped by the experienced meatatarians behind the Hagberg’s meat counter. First, we trim out the bones, excess fat, and skin, leaving a juicy piece of delectable dark meat. But we don’t stop there. The thighs then take a dip in our meat case in a bath of our own Korean BBQ marinade, where they wait to accompany you home to your kitchen.

The thighs have quickly become a very popular item from our meat case. (Make sure you make it all the way to the end of the case to find them basking in their bath.)

Hagberg’s customers have reported enjoying them in a variety of ways. Baked and served center plate with a starch and veggies. Grilled and sliced atop a rice bowl. And even as the main ingredient of Asian fusion street tacos.

Aside from the savory flavor, our boneless, skinless marinaded thighs are a breeze to prepare on a grill, in the oven, or on the stovetop.

How to cook Hagberg’s Marinaded Boneless, Skinless Chicken Thighs

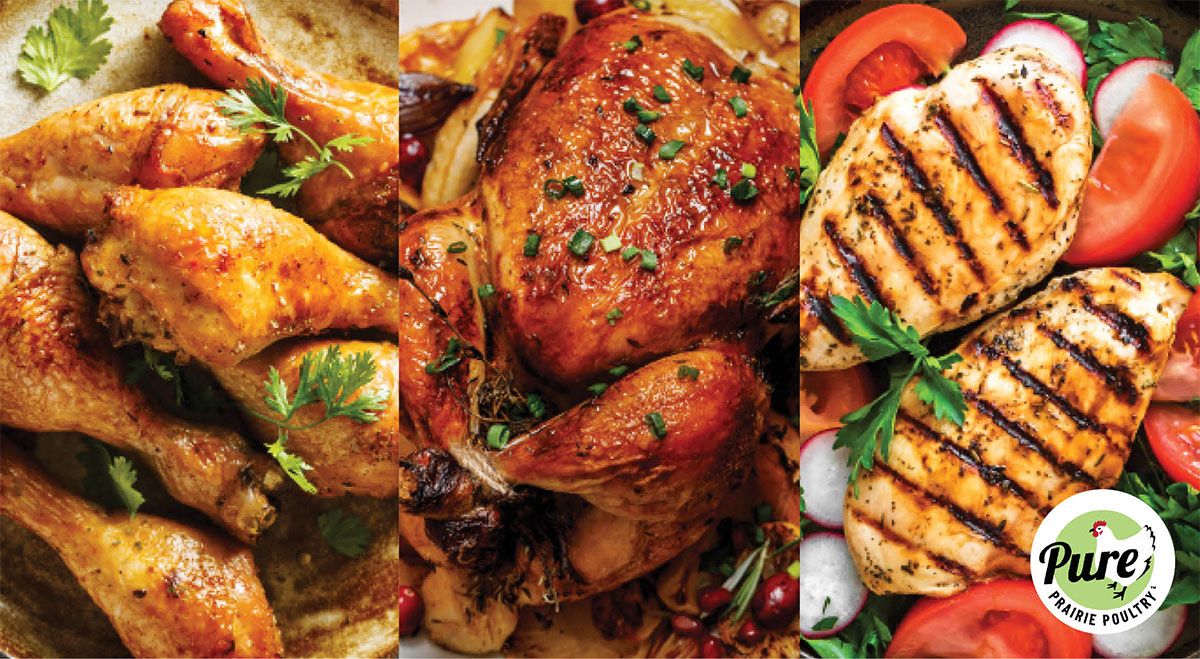
On the grill: Preheat the grill to 400° F. Cooking times will vary slightly, but the thighs will take about 10-12 minutes to grill. Turn halfway through cooking. Cook to an internal temp of 165° F.

In the oven: Preheat oven to 400° F. Place thighs in a lightly oiled baking dish. Cook for about 30 minutes. Cook to an internal temp of 165° F.

On the stovetop: Coat the bottom of a skillet with oil and heat. Place the chicken thigh in the heated oil. Turn after about 5 minutes and cook for another 6 minutes. Again, cooking times may vary, but cook to an internal temp of 165° F.


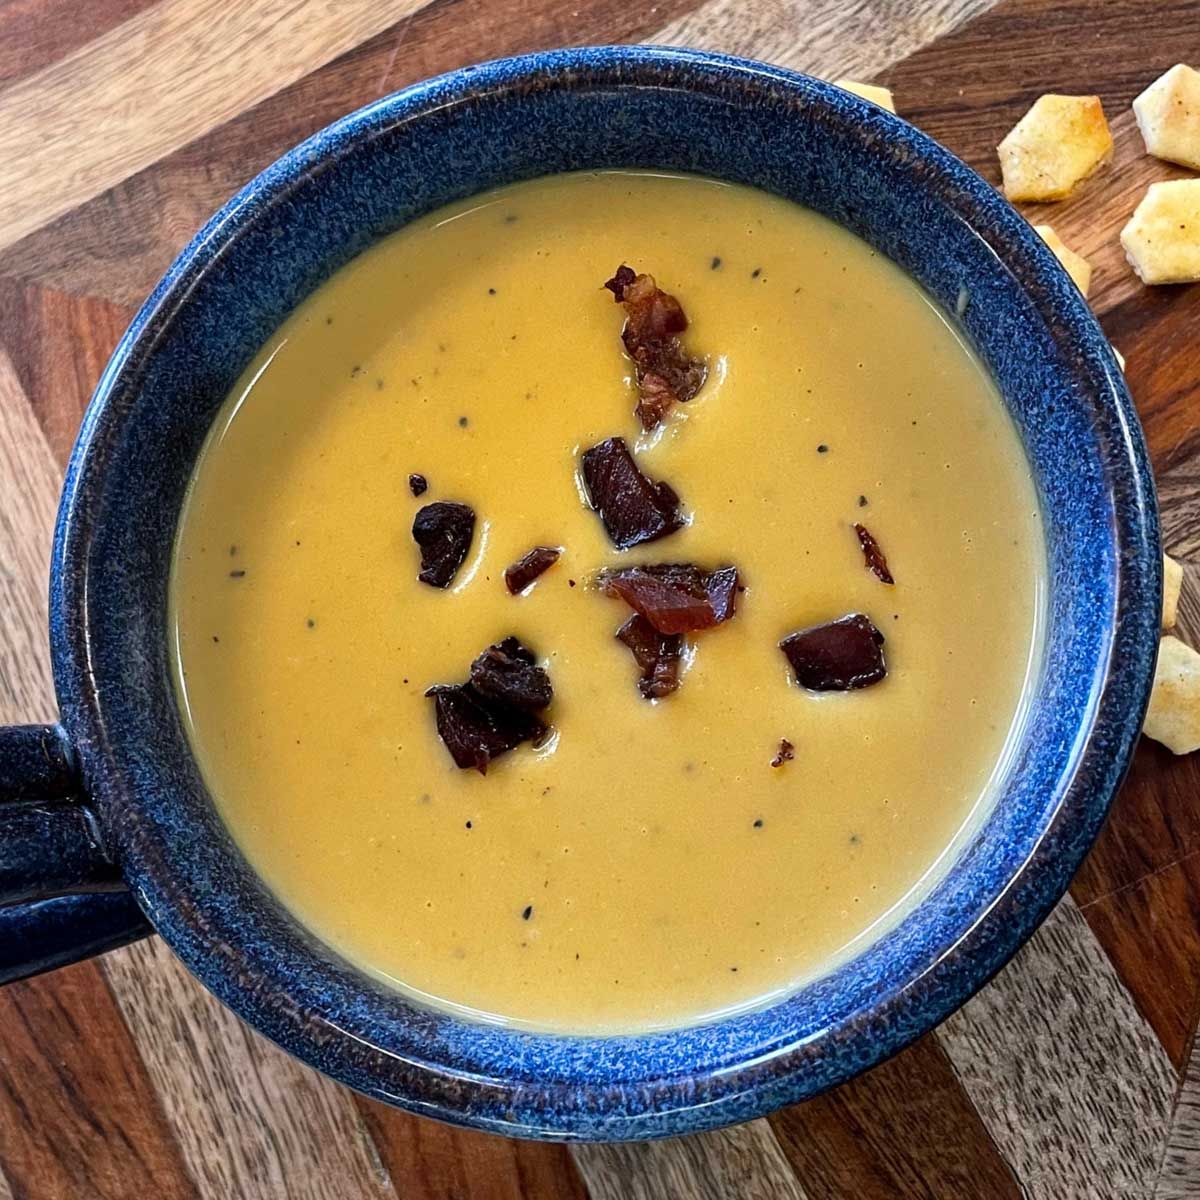
Butternut Squash Soup

The ingredients are straightforward, but there is definitely some magic happening in the kitchen. This savory seasonal soup (say that three times fast) is one of the most asked-for soups we make. Hagberg’s Butternut Squash soups start with large dices of butternuts squash sprinkled with a bit of salt, pepper, and brown sugar. Then we add some Minnesota butter and bake it until it’s ready for our own Hagberg’s stock. Then it’s time for a little whisking, thickening, and simmering with some heavy cream. Finally, we add a dash of TLC serves it with some crumbles of Hagberg’s own smoky bacon.

Continue reading

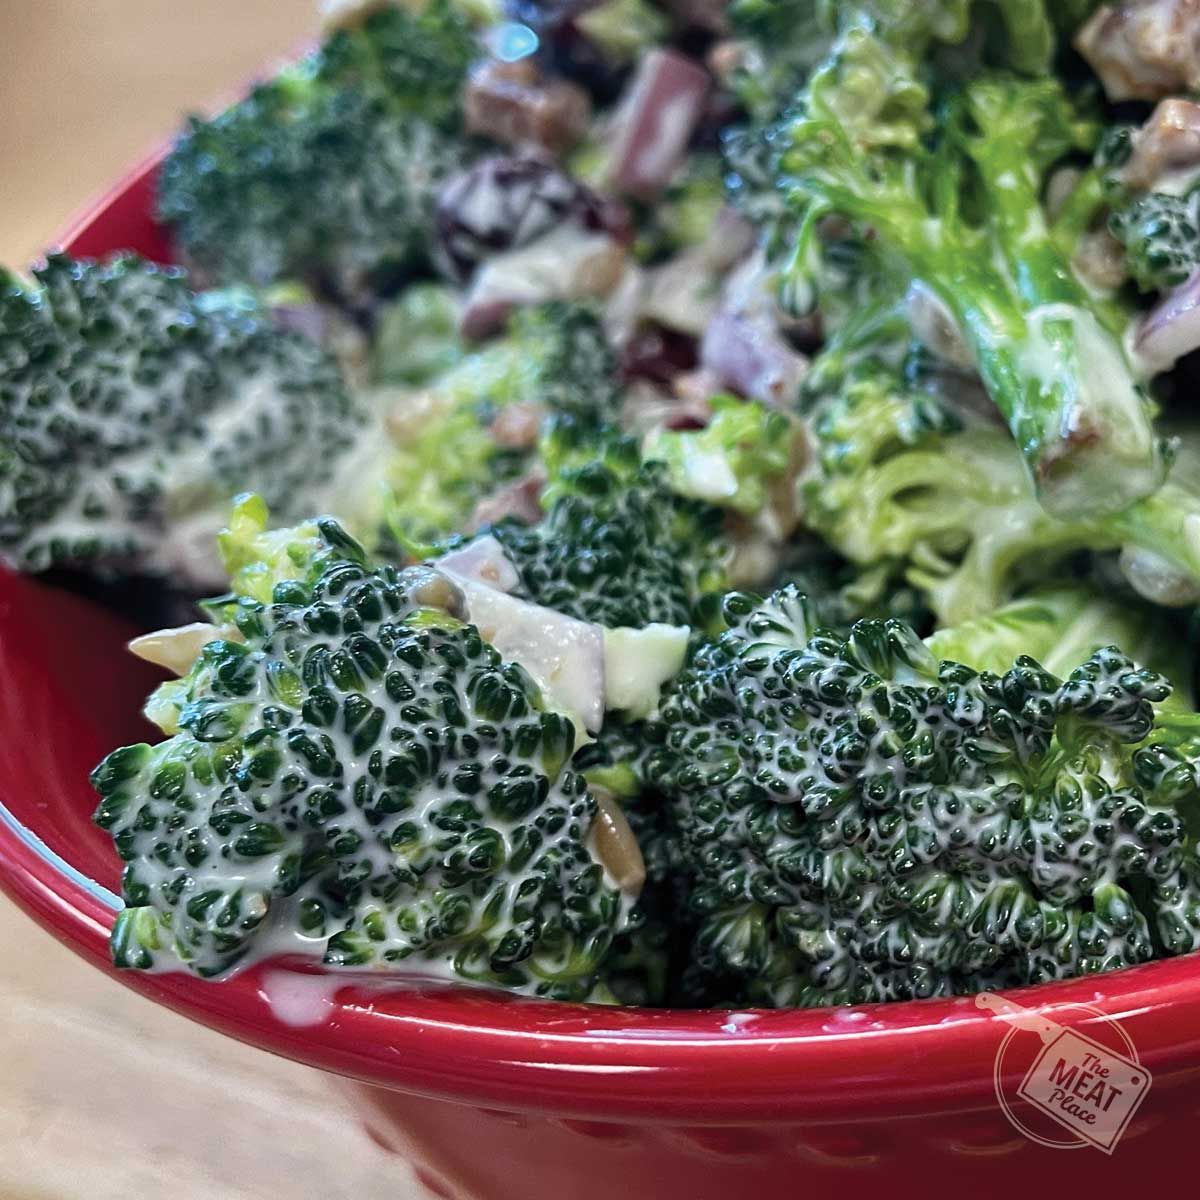
Hagberg’s Broccoli Salad

Sure, we’re the “Meat Place,” but we want you to eat your vegetables, too. But we don’t just want you to eat your veggies. We want you to REALLY enjoy eating your veggies. And believe me; you’ll love our Broccoli Salad. We start with crispy, fresh broccoli. Then we add in red onions, craisins, and sunflower seeds and mix it all in our sweet mayo dressing.

Continue reading

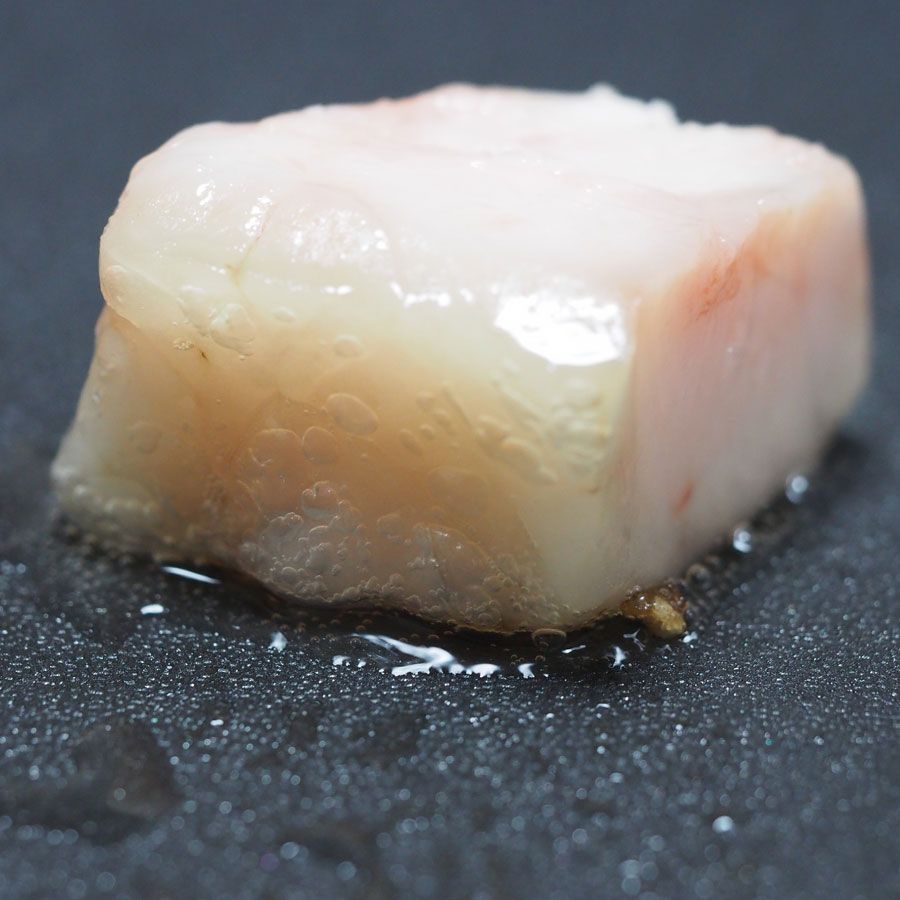
What Is Beef Tallow?

Tallow is rendered fat from beef. Tallow consists of mostly saturated and monounsaturated fat. As a replacement for conventional cooking oil, tallow holds many advantages in cooking processes and overall health benefits.

Continue reading

Spanish-Style White Bean & Chorizo Soup

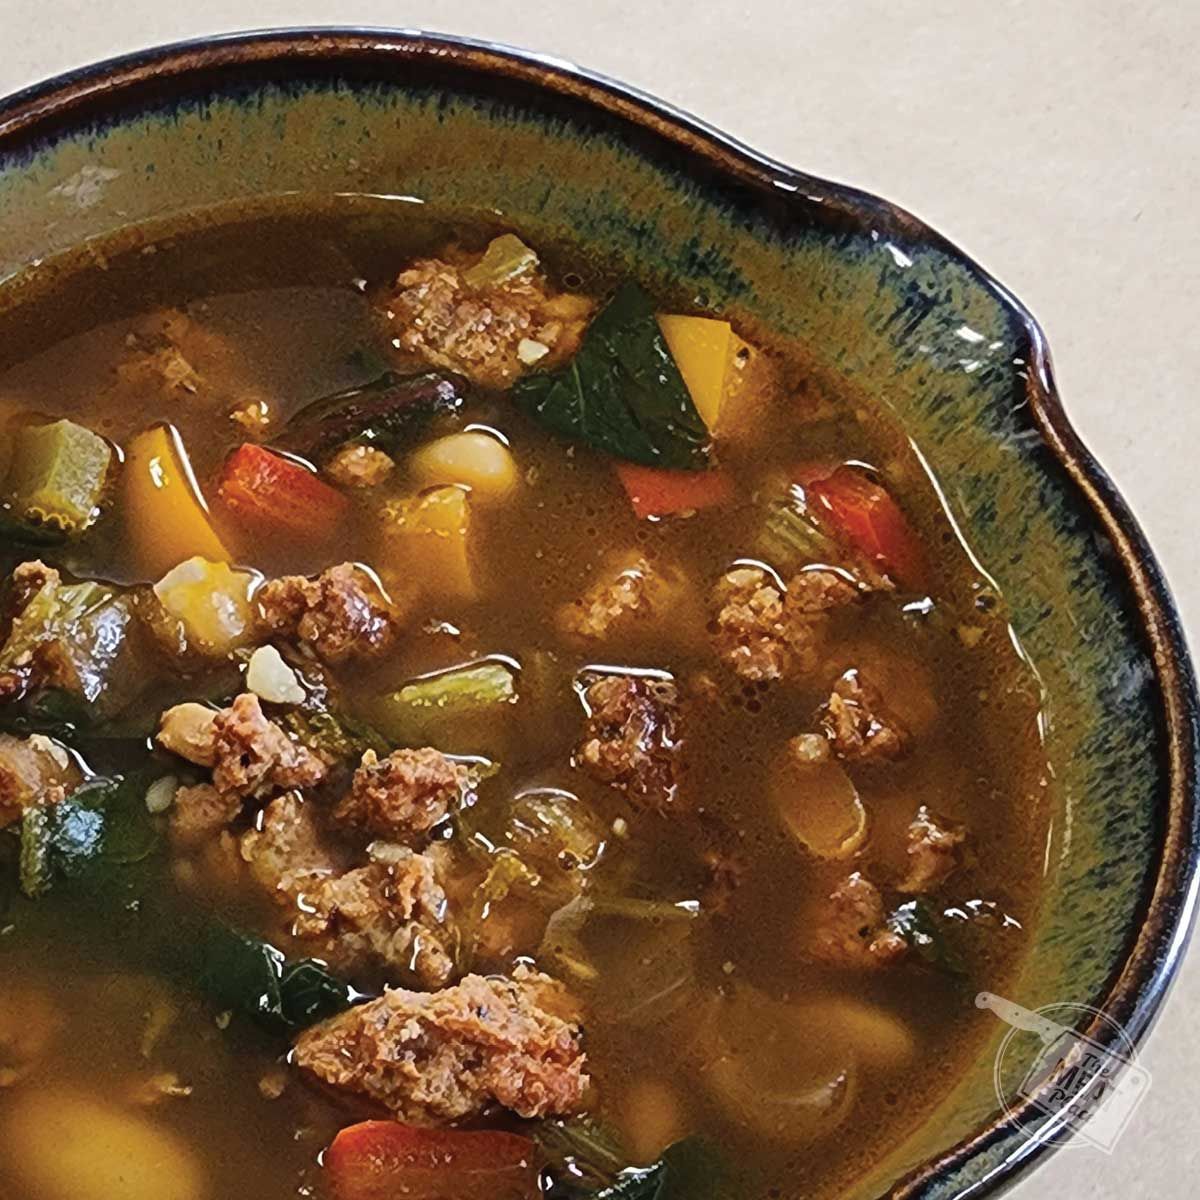
The name of this soup sort of says it all. But in case you’re wondering, in addition to the butter beans, great northern beans, and Hagberg’s Mexican Chorizo, this protein-packed recipe also includes celery, white onion, and carrots in a bath of Hagberg’s hearty stock.

Continue reading

Aunt Nettie’s Beans

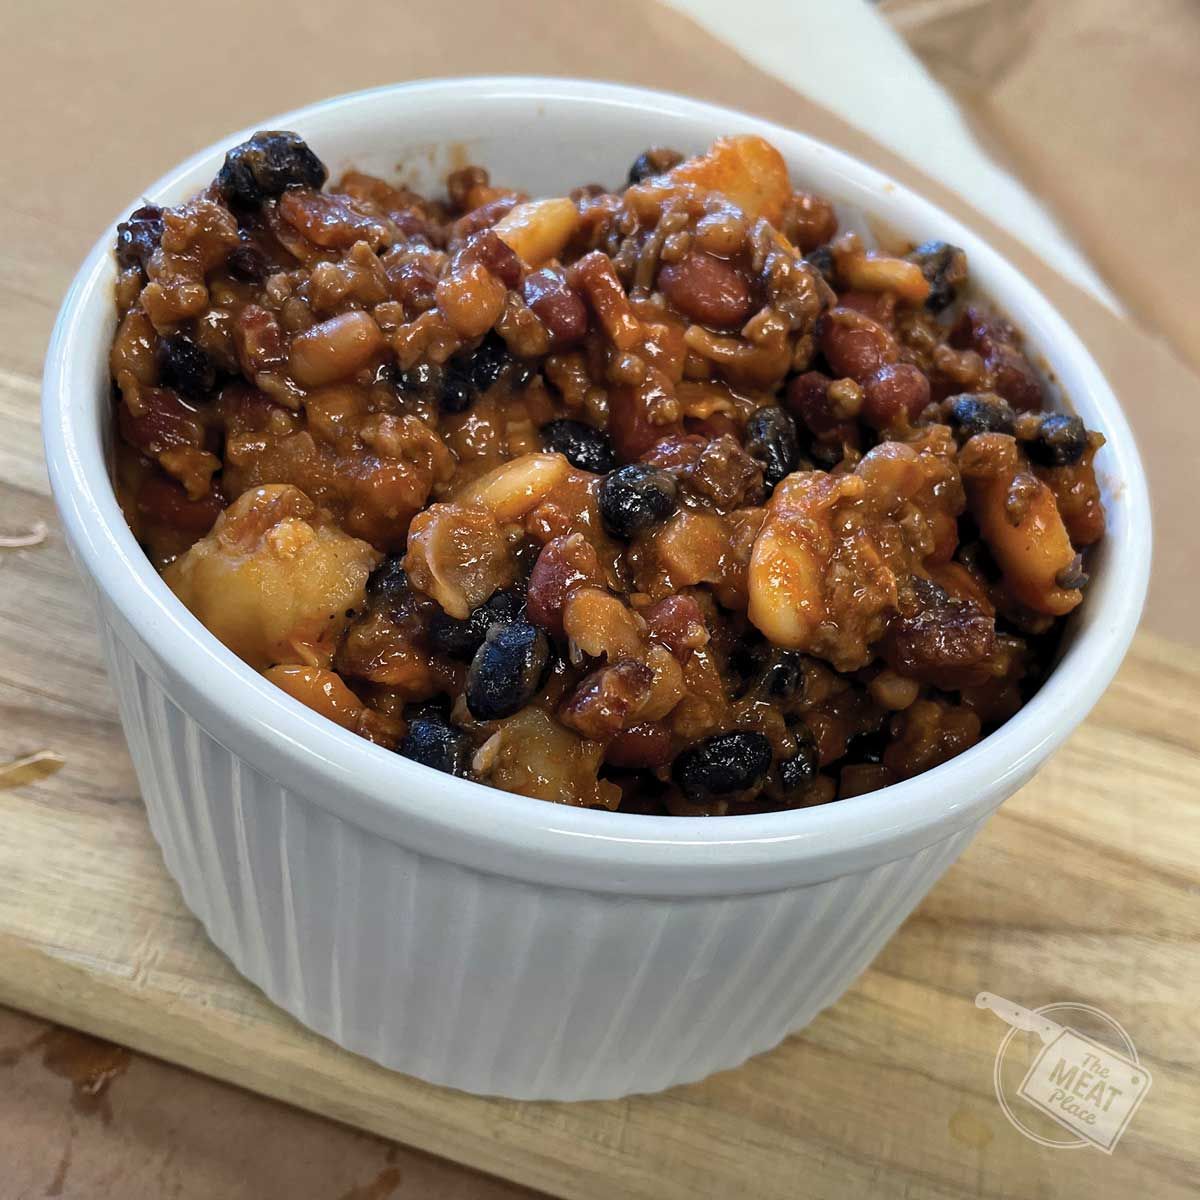
Black beans, butter beans, kidney, and navy beans sweetened with a bit of brown sugar and baked with freshly ground Hagberg’s burger and Hagberg’s smoky bacon.

Continue reading

Hagberg’s Own Cousin Vinny

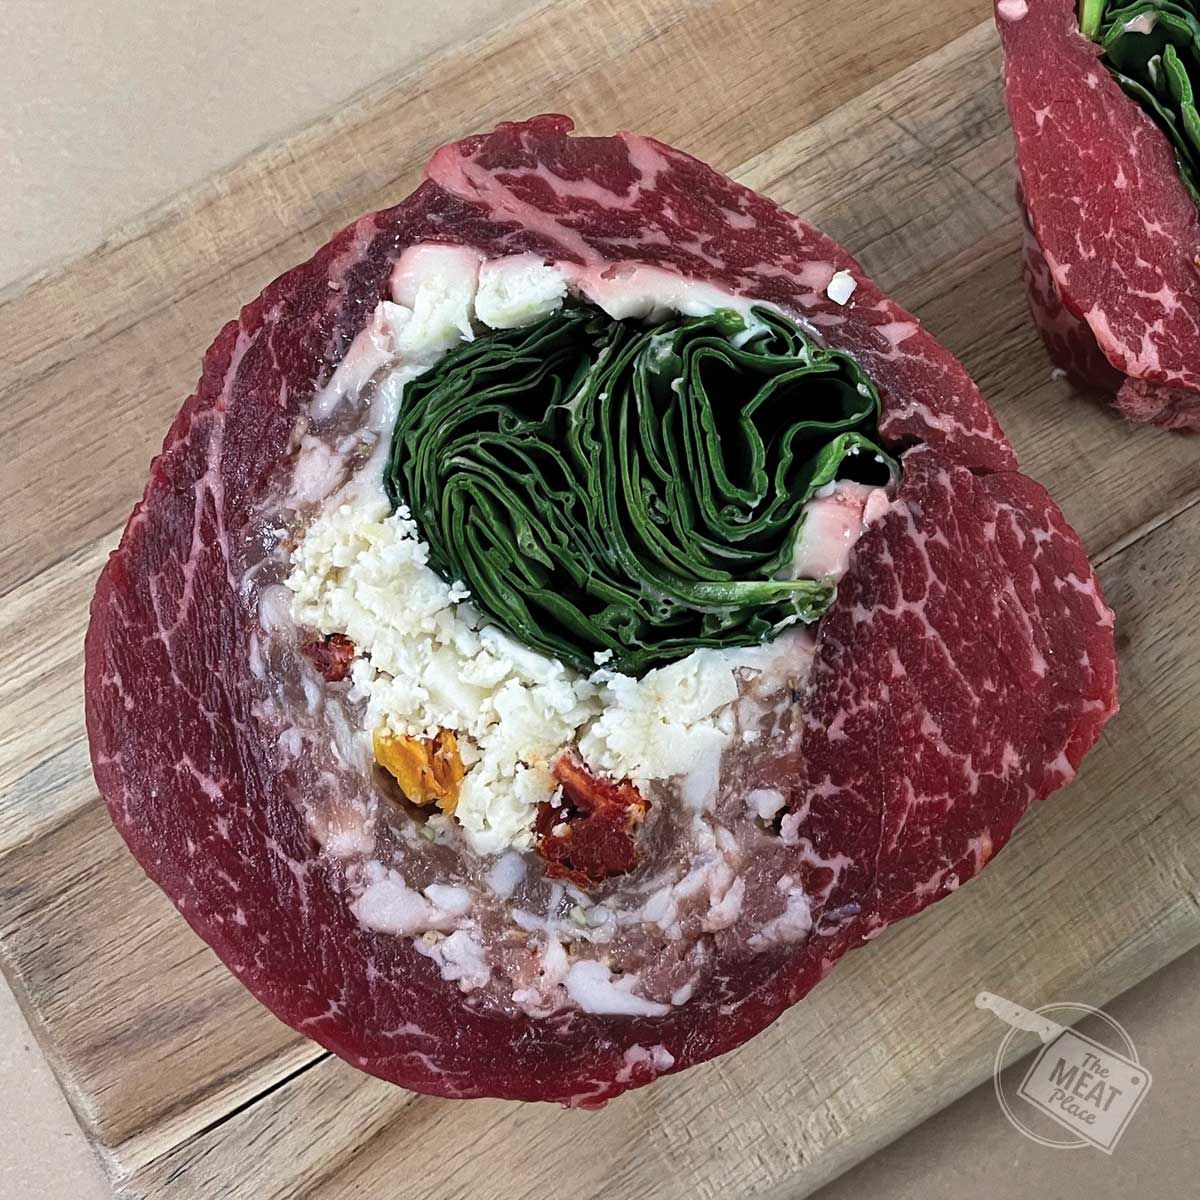
Our Cousin Vinny is a Hagberg’s original developed around the authentic Joe Tucci Italian sausage recipe from the old neighborhood in East St. Paul. It starts with an expertly trimmed beef tenderloin. Then we roll it around Joe’s Italian sausage, sundried tomatoes, mozzarella cheese, and fresh spinach.

Continue reading

Dressing Stuffed Pork Chop

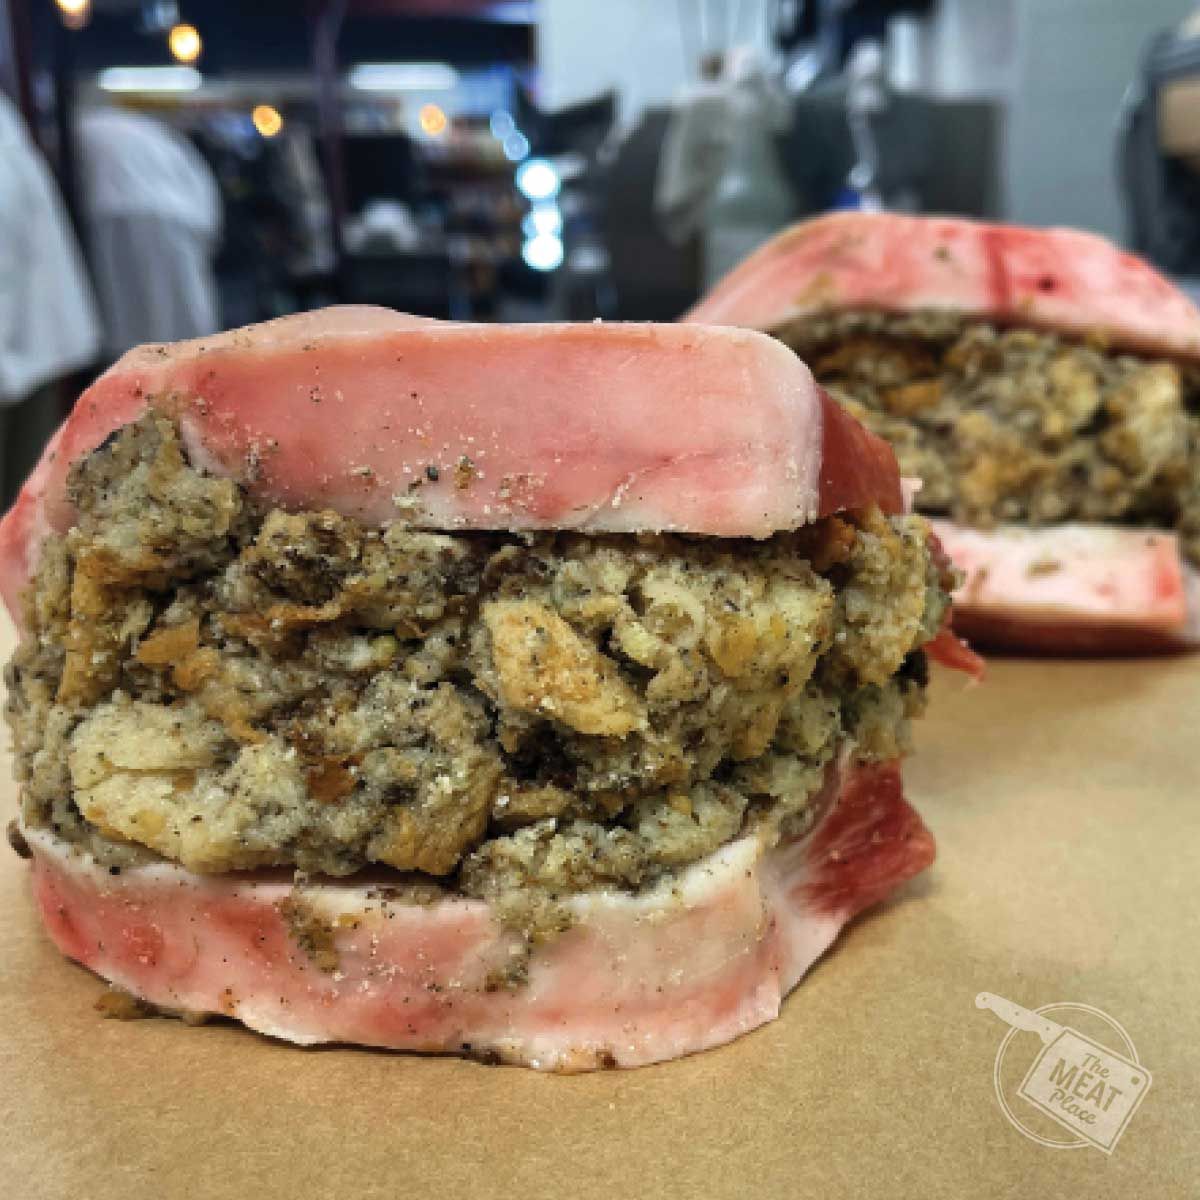
From our meat case to your oven, this customer favorite makes for an easy-to-prepare meal that will taste like you spent all day in the kitchen! Our Dressing Stuffed Pork Chops start with expertly trimmed Minnesota premium Duroc pork chops stuffed with Hagberg’s own sage and onion stuffing.

Continue reading

Homemade Fair Favorites!

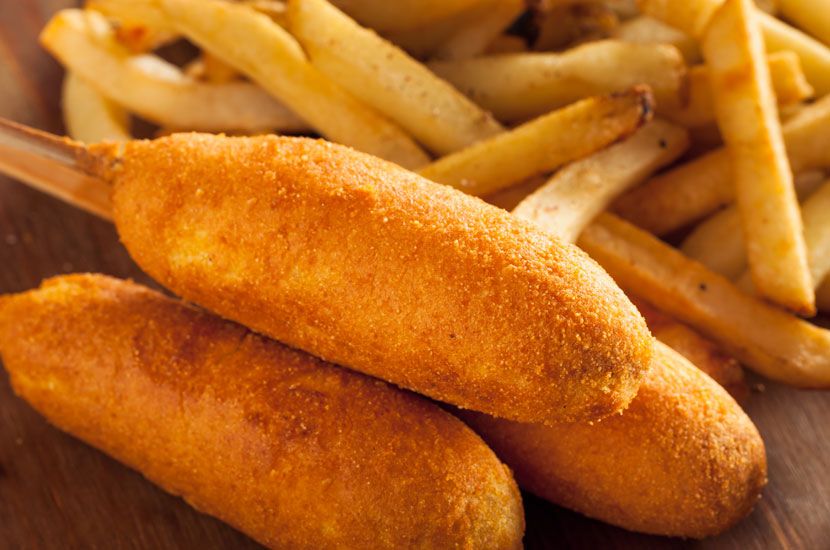
The Minnesota State Fair starts this week! In honor of this favorite annual “eating fest,” we’re sharing a few fair classics that you can make at home without the lines, the parking, or the crowds.

Continue reading

Super Simple Summer Salsa

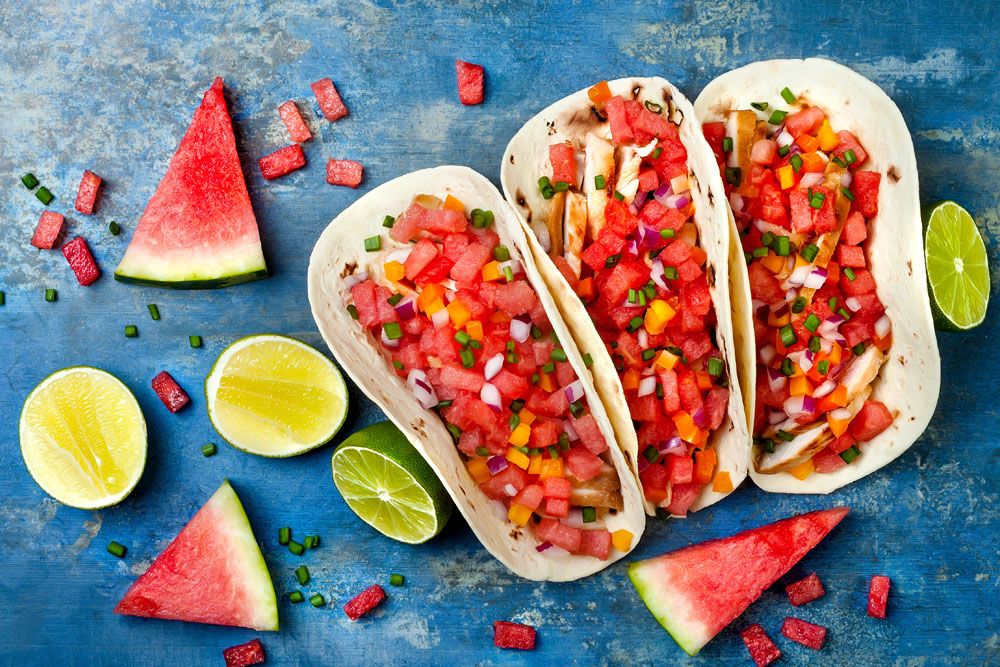
Zesty Watermelon Salsa

Summer is the season for all of the senses! Along with the aromas of grilling meat wafting through our evening air, the season brings a bounty of bold, beautiful, and delicious fresh fruits and veggies. And there aren’t many fruits that scream summer more than watermelon.

Continue reading

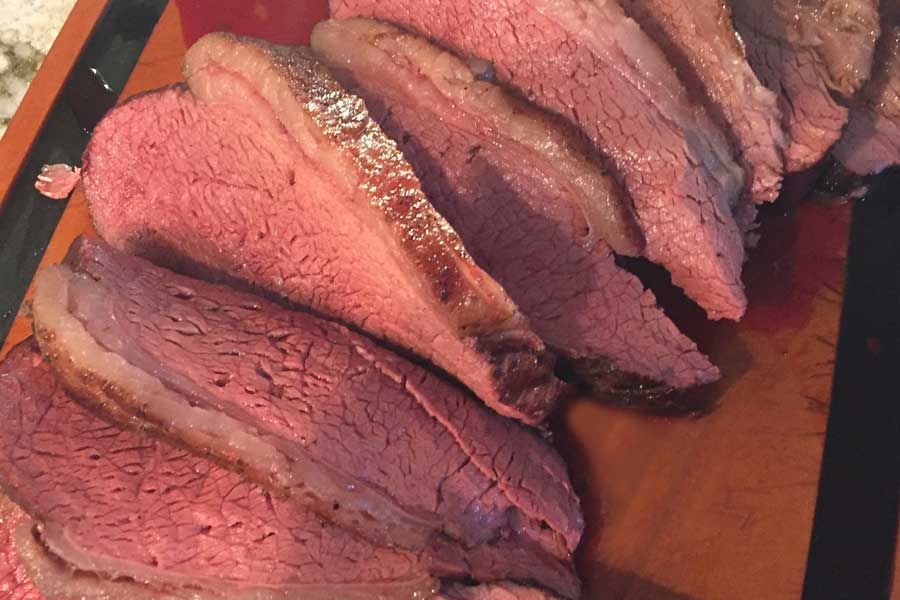
Preparing A Perfect Picanha

We received this excellent method for preparing picanha in a Big Green Egg and finishing on a flat top from one of our favorite customers (Thanks Todd!). And you can see by the picture it worked out pretty darn, deliciously well.

Continue reading

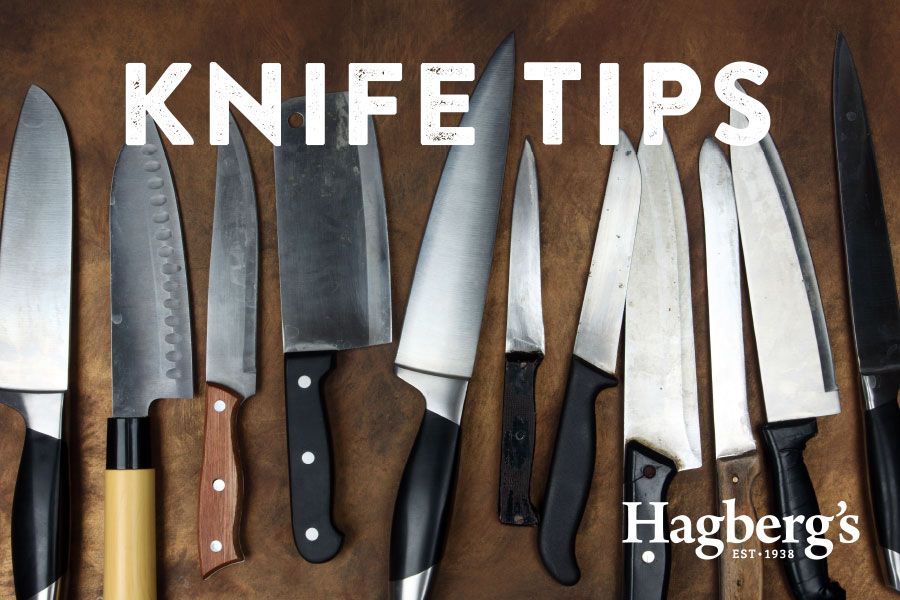
Keep Them Sharp, Clean, And Treat Them With A Little TLC.

You may not be a professional meat cutter, but maintaining a good quality knife is essential for many reasons. Anyone who uses knives over an extended period knows the frustration of trying to use blunt, dull knives. First of all, be sure to keep an eye on our Facebook page because Rusty from Minnesota Knife Sharpening stops by Hagberg’s fairly regularly to give our customer’s knives an edge. In the meantime, here are a few “tips” of the trade to help you keep your knives cleanly cutting.

Continue reading

Our Sourcing Search Always Bring Us Back To Our Own Backyard.

At Hagberg’s we never stop searching for the best sources of meats, produce, dairy, and groceries. Fortunately, we don’t have to look far. Our business takes pride in sourcing from local purveyors whenever possible. We’ve developed great relationships with many local producers who help us keep our commitment to providing our customers with quality and selection you just can’t find at the chain stores. But it goes beyond quality products. As a small business, we know how important it is to support our local economies where we live, shop, and work.

Continue reading

Fair Foods At Home!

Newsflash! The Minnesota State Fair has been canceled due to you-know-what! Okay, we know, it’s not new news, but as the date of the annual food fest draws nearer, were here to remind you, you can still enjoy a lot of your favorite fair flavors at home. Here’s a couple of our favorites – deep-fried, of course.

Continue reading

Sandwich Time Machine

Okay, stop me if you heard this one – a hungry leading lady walked into a restaurant…

The actress was Annette Seelos, the year on your time-machine dial is 1914, and the place was New York.

Continue reading

Only Prime-Grade Local Beef And Certified Duroc Pork – Other Meats Don’t Cut It (Or Get Cut) At Hagberg’s.

We’ve always put a premium on providing only the highest quality meats to our customers. These days, you can’t open a newspaper or watch a newscast without hearing about large meat processors. At Hagberg’s, we source our meats from local providers for fresher, more distinctive, and higher quality selections. We believe that a closer relationship between the farmers and us results in a better shopping experience for our customers.

Continue reading

Get Your Gas Grill Ready For Grilling Season

We know, some of you hearty die-hards don’t let winter keep you from getting your grill on, but for most, it’s finally time to uncover the grill and get cooking! Okay, we know it’s not brain surgery, but taking a few simple steps to prep your grill for the season is fast and easy. And it just might save you from blowing your deck off!

Continue reading

Preparing A Perfect Picanha At Home

We received this excellent method for preparing picanha in a Big Green Egg and finishing on a flat top from one of our favorite customers (Thanks Todd!). And you can see by the picture it worked out pretty darn, deliciously well.

Continue reading

How To Reheat

We get this question a LOT. If it’s already been cooked once, it’s probably okay to eat it cold, but who wants a cold dinner, especially this time of year.

The truth is, reheating is not rocket science. If you want to heat it before you eat it, choose your favorite source of heat, and apply. Of course, we don’t recommend blow torches, but if you’re in a pinch…

Continue reading